How to use Take-Profit and Break-Even Condition?
Overview
All of our indicators provide the flexibility to dynamically determine Take-Profit (TP) and Break-Even (BE) prices based on specific price conditions. This article explains the available conditions and how to use them.
This article will focus solely on TP scenarios, as the conditions for BE are identical to those of TP.
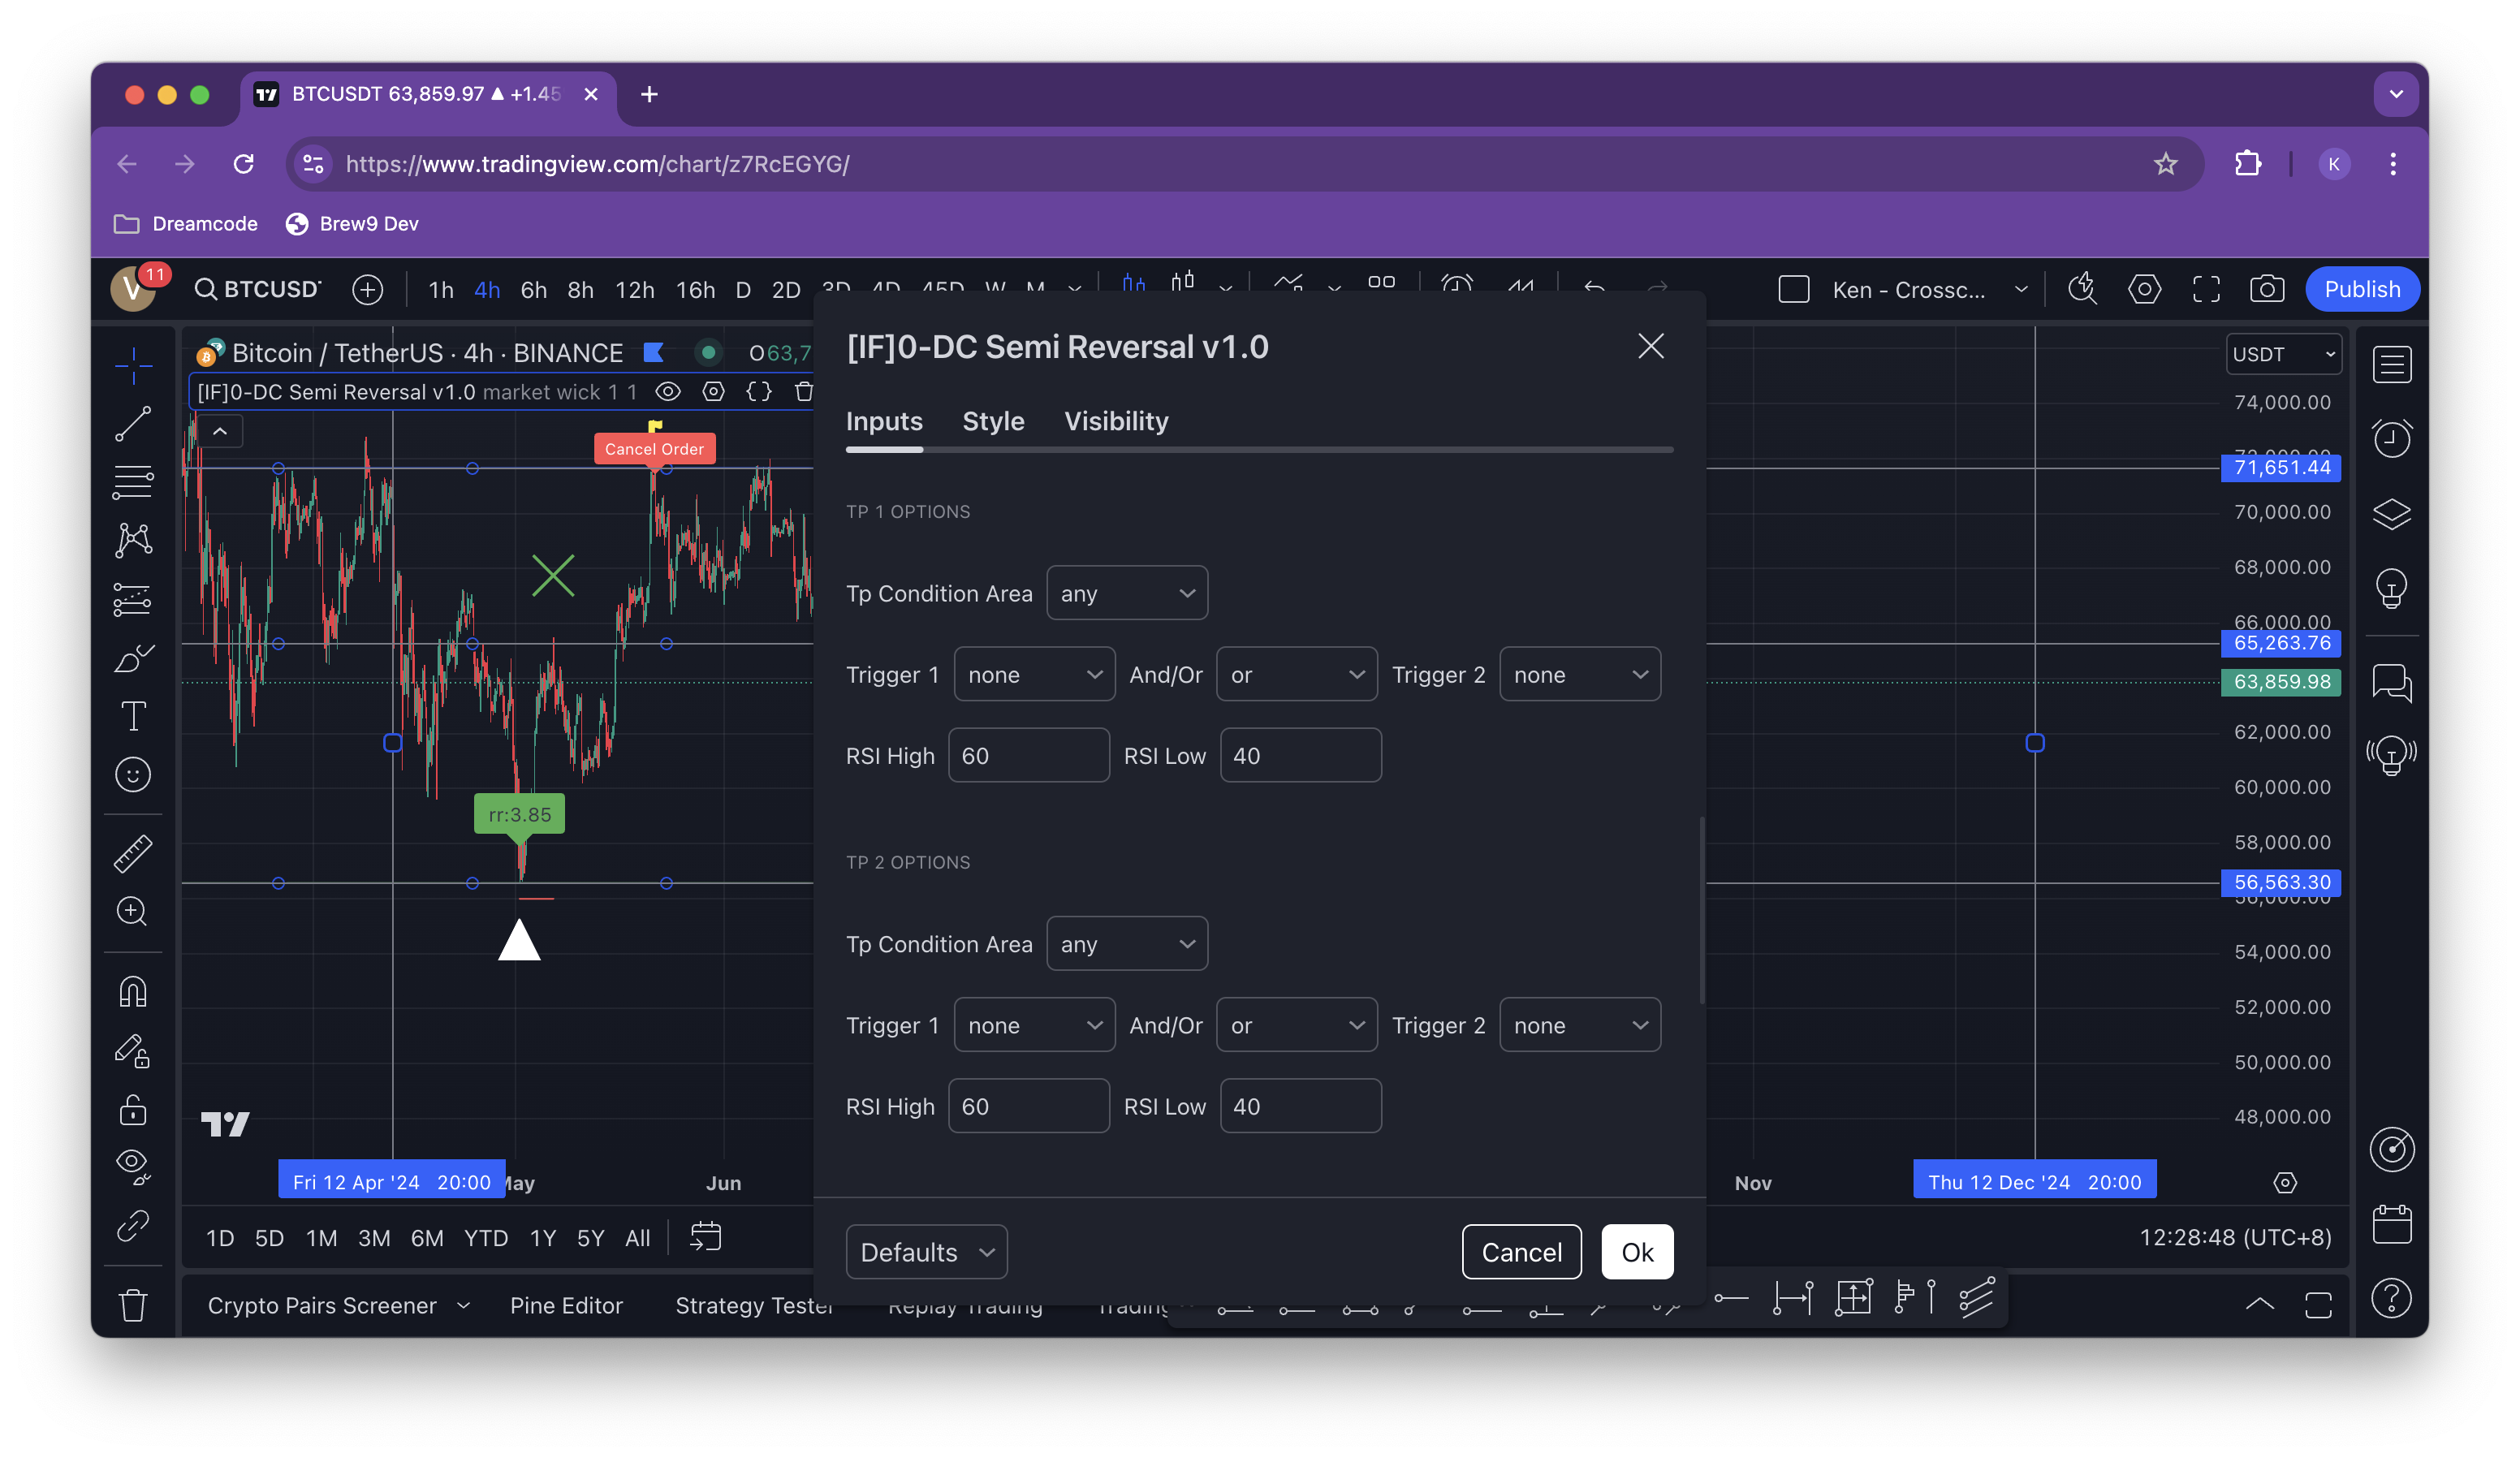
TP Condition Area
There are two types of TP Condition Area, summarised below:
| TP Condition Area | Explanation | Example |
|---|---|---|
| Any | No specific zone; TP triggers on the trigger condition alone. | e.g. TP executes when trigger condition met regardless of price zone. |
| TP Zone | Only trigger TP when price enters a predefined TP zone. | e.g. TP executes only after price crosses into zone defined by indicator. |
TP Condition Triggers
Defines the conditions to trigger a TP order. Available conditions are:
| Trigger Condition | Explanation |
|---|---|
| None | No conditions. |
| 1 opp | One candle in the opposite direction. |
| 2 opp | Two continuous candles in the opposite direction. |
| 3 opp | Three continuous candles in the opposite direction. |
| Reversal | A reversal of the opposite direction. |
| Reversal and 3 continuous | A reversal followed by three confirming candles. |
| Huge volume | A huge volume spike is detected. |
| Moderate volume | A moderate volume spike is detected. |
| RSI over | RSI crosses above the RSI high value (LONG entries only). |
| RSI under | RSI crosses below the RSI low value (SHORT entries only). |
Our indicators support two trigger conditions: you can require either at least one condition (OR) or both conditions to be met (AND).